
HyperAF: The Fastest Imaging Rig I’ve Ever Built
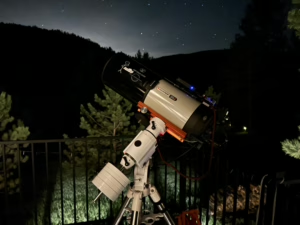
When I purchased my Celestron EdgeHD8, one of the primary decision points was the pure versatility of this telescope! It is really like having 3 telescopes in one when you have the needed components. At native focal length it runs at 2032mm focal length with a focal ratio of f/10. Add in the .7x reducer and you get a 1422mm focal length scope running at an f/7 focal ratio. I had the reducer.. but what I didn’t have was the 3rd piece of the image train puzzle. By removing the secondary and replacing it with a camera system with appropriate field correction, you can get a much wider field of view and super fast optics!! When I first imagined what a truly high-speed imaging system might look like, I didn’t expect to end up building something that feels like it belongs on the Enterprise. But that’s what HyperAF is — a DIY imaging project so streamlined, so aggressive, it flies through light years of data like a starship through a wormhole. Honestly, I started out like pretty much everyone else, looking at the HyperStar by Starizona. HyperStar is great, don’t get me wrong, but justification of the pricetag was really cause for pause and I started taking a look at what it would take to put together something. It started out as a crazy project that has no chance of actually working but ended up surprising the heck out of me when I was first able to get it collimated and focused correctly and my test images started rolling in! It was really exciting that it actually worked!
This post documents the full HyperAF configuration, how it works, and what makes it such a unique entry in the AstroAF fleet. You’ll also find links to the parts, 3D-printed accessories, and build components used. If you want to try it out for yourself, provided you have a suitable astrophotography camera and a filter drawer already, then you can do this project for $200 or less. That is a significant savings of around $800 less than the HyperStar cost!
What Is HyperAF?
HyperAF is my name for a hyper-fast, wide-field imaging configuration designed for speed, simplicity, and dramatic framing. It’s an ultra-portable rig built around the EdgeHD 8 telescope — but pushed to extreme speeds through reducer optics and sensor pairing.
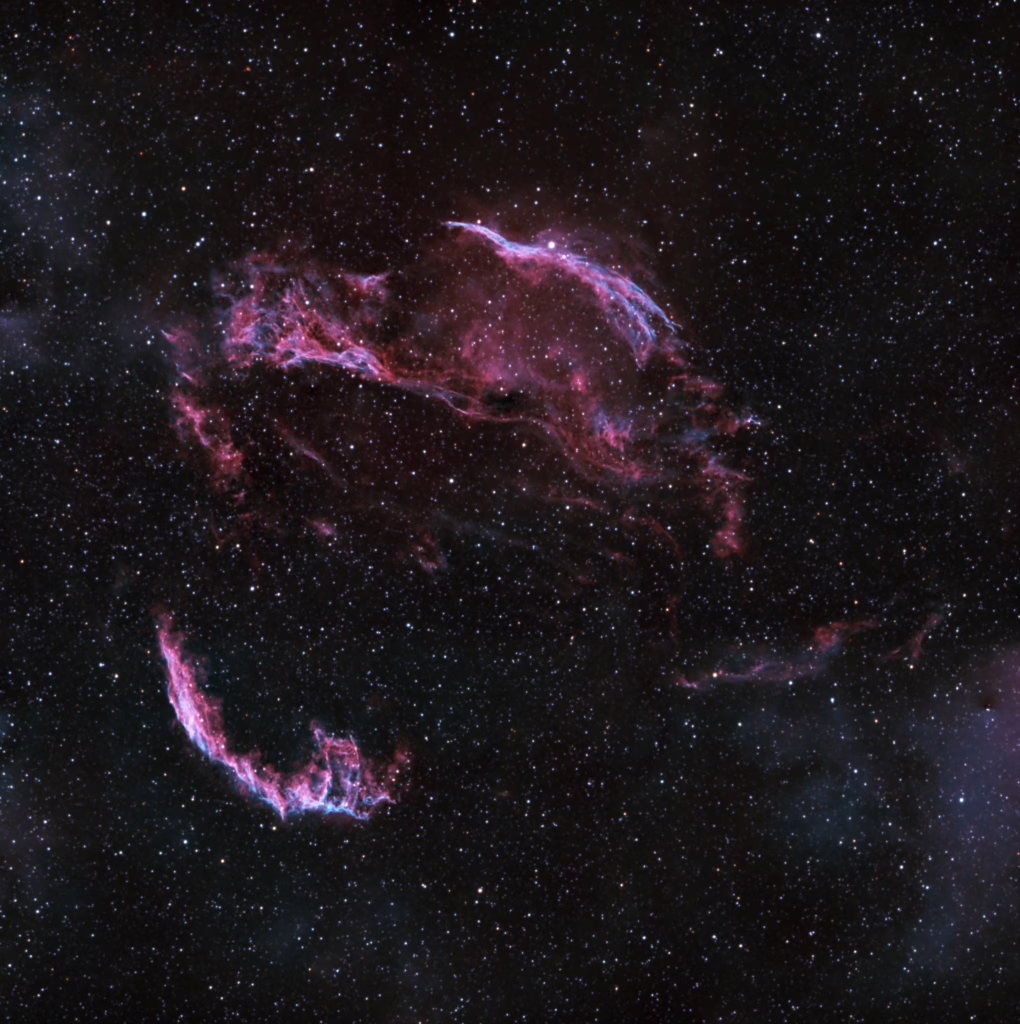
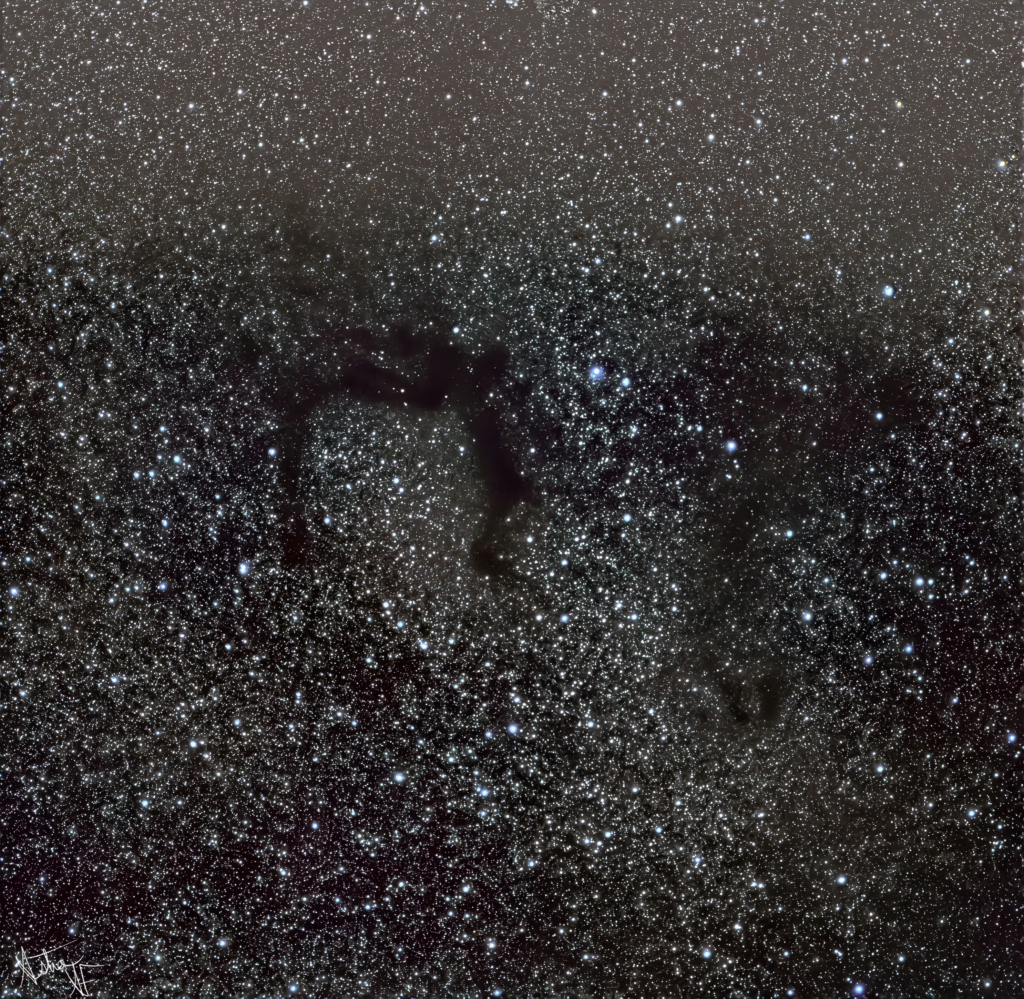
This configuration is perfect for faint molecular clouds, dark nebulae like LDN 700, which was a primary test subject for this setup; and speed, I was able to complete a 9 panel mosaic of the Cygnus Loop in just 8 hours!
The Optical Train
- Primary Telescope: Celestron EdgeHD 8
- Reducer/Corrector: Sharpstar 2″ 0.95x Reducer / Coma Corrector — A well-matched reducer that helps flatten the field and reduce focal ratio to a blazing f/1.9:
f-ratio = focal length / aperture
        = 388 mm / 203.2 mm
        ≈ f/1.91
Having a look at the 388mm, I’ve arrived at this using the following:
400 mm × 0.95 ≈ 380 mmThen, when image solving in Pixinsight, I found that 388 actually provided better results in the solver. What I suspect in this case is that the minor variation from spacing and adapter thickness makes up the 8mm difference in overall focal length.
- Sensor:
- ZWO ASI533MC Pro (tested)
- Player One Mars 662M (tested)
- Player One Artemis-M PRO (planned)
- ZWO Filter Drawer: A 2″ drawer system is used to allow easy UV/IR to Ha/Oiii and NB/LRGB switching without disrupting the light path.
- Field Rotation: Done manually by rotating the entire assembly in the corrector plate — no rotator needed.
Build Mechanics and Design
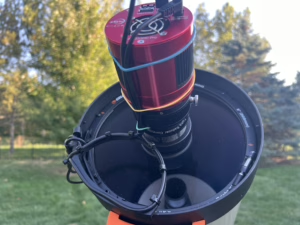
The camera and reducer are mounted with a custom 3D-printed adapter that fits perfectly into the corrector plate threads. This one part is responsible for securely housing the reducer, camera, and filter system — and it’s critical for field rotation to remain centered and aligned.
Corrector Plate Adapter Attribution: I found this STL from @AstroSuhaib on YouTube
Download the Adapter STL
For cable management, I use a compact, custom 3D-printed cable organizer to keep the back of the rig clean and snag-free.
Cable Organizer Print File: The cable organizer for HyperAF is designed to minimize light path obstruction by using an arc-shaped cable run.
A flat or straight cable run across the front of a telescope (especially at prime focus or in the light cone) can create: Linear diffraction artifacts (like unwanted spikes or streaks), and Hard vignetting or shadowing in wide-field or fast optical setups.
By contrast, the arc-shaped cable organizer spreads shadowing smoothly, if any, instead of causing sharp or asymmetric artifacts. The arc Follows the curvature of the optical path, staying near the perimeter where the light cone is already narrowing or falling off due to natural vignetting, and avoids cutting directly through the center of the aperture, where obstructions would impact image quality the most.
Since the assembly is mounted inside the corrector plate and operates at f/1.9, the light cone is extremely steep. That makes central obstructions far more damaging — even a small wire across the aperture can introduce noticeable diffraction or softness.
Using an arc:
- Keeps cables tucked along the edge
- Reduces chances of any direct intrusion into the optical axis
- Minimizes both contrast loss and diffraction impact
Everything is housed tightly so that the entire system stays light, rigid, and responsive to quick repositioning — no guiding needed. I normally am exposing at 30 or 60 seconds but have actually tested up to 300 seconds with great results. The unguided exposure length is mainly a matter of how well your mount is tuned and tracks. Most EQ tracking setups should be able to do 30 seconds with no problem.
Real-World Performance
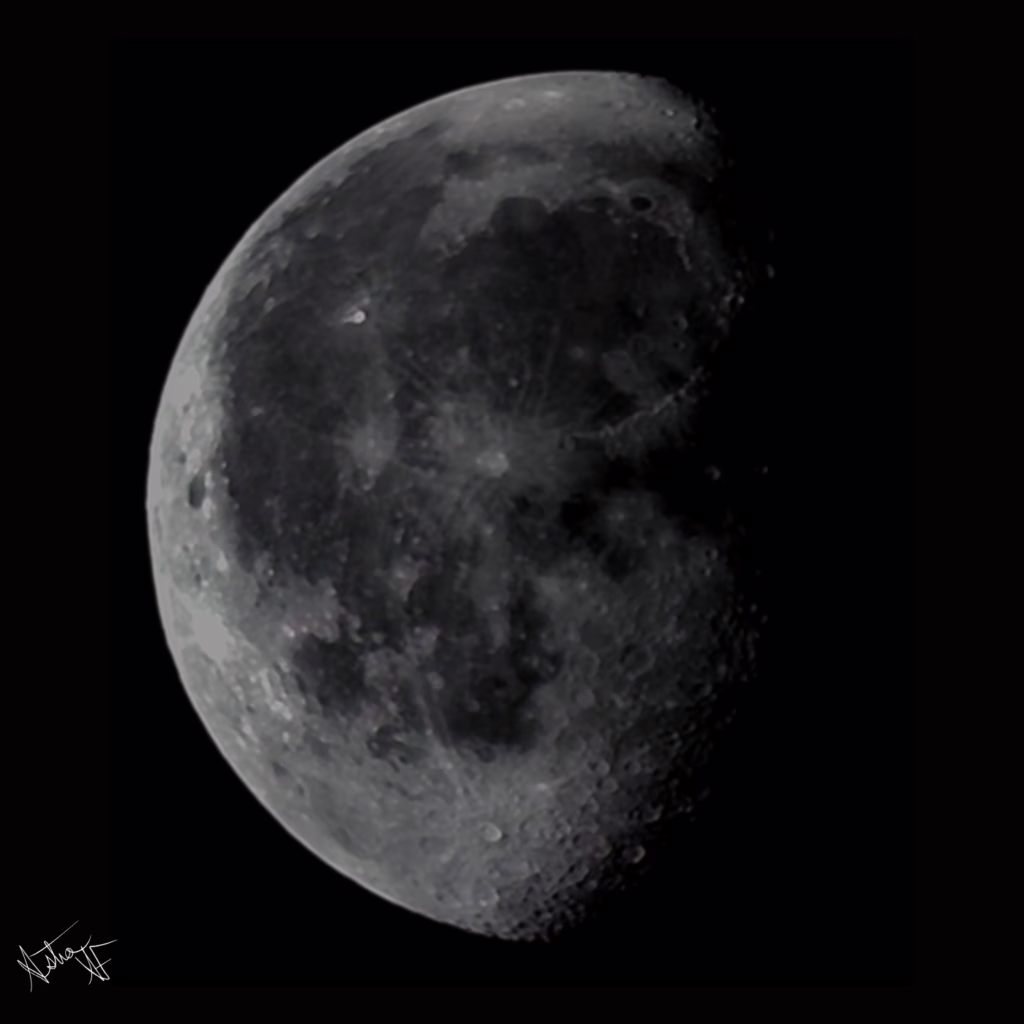
I’ve been using HyperAF for nearly a year now, and it’s changed how I approach widefield imaging. My most recent capture — LDN 700 using the ASI533MC PRO was a perfect example of what this system can do. The dense starfield and high-contrast dust lanes came through beautifully, all without guiding.Earlier in the year, I used HyperAF to complete a 9-panel Cygnus Loop mosaic in just 8 hours, and even snapped a daylight Moon shot with the Mars 662M. I’ve pushed this setup across several targets, and it consistently delivers. Check out my article on Elevating Planetary Imaging: The Player One Mars 662M Experience
Because this configuration runs at f/1.9 with an effective focal length of 388 mm, it lets me gather a ton of data in very short windows — critical for narrow imaging gaps and unpredictable skies.
I’ve since layered this with a starfield asset and animated zoom to LDN 700 — which now serves as the ending frame of my upcoming HyperAF cinematic intro.
Lessons Learned
- Short backfocus is critical. Even a millimeter of error can throw off your stars. The way I approached determining the backfocus was to setup initially with exactly 55mm that you’d normally configure in typical image train setups. I then began looping images and adjusting the assembly within the adapter and re-focusing on each step. Once I was able to get pinpoint focus and sharp stars I measured the distance that I had adjusted out from the adapter. I then 3D printed a spacer to this exact thickness and installed it into the assembly in order to create a fixed backfocus.
- Field rotation is super simple, just rotate the entire assembly within the adapter. There is no field rotator necessary.. Then just tighten the thumbscrew to secure the field of view.
- I leave the entire assembly connected as a single unit and have a dedicated cutout in my travel case for it. The HyperAF is always ready to go!
Final Thoughts
HyperAF represents a philosophy as much as an imaging train rig: maximize light, minimize weight, and turn your gear into something more than the sum of its parts.
Resources
- Aaffiliate links – By using these links you can help support AstroAF at no additional cost to you! It is a win-win!
- Celestron EdgeHD 8
- Sharpstar Reducer
- Filter Drawer: ZWO 2″ M48 drawer
Leave a Reply