Intro
Let’s talk about one of the most overlooked problems in astrophotography: cable management. Messy cables aren’t just an eyesore — they can cause snags, imbalance, or even diffraction artifacts that ruin your images when routing for HyperStar.
In this post, I’ll walk through my philosophy and methods for managing cables on your astrophotography rig, including a 3D-printed routing loop I use — but this is really about the broader why and how of good cable practices.
The Problem With Cables
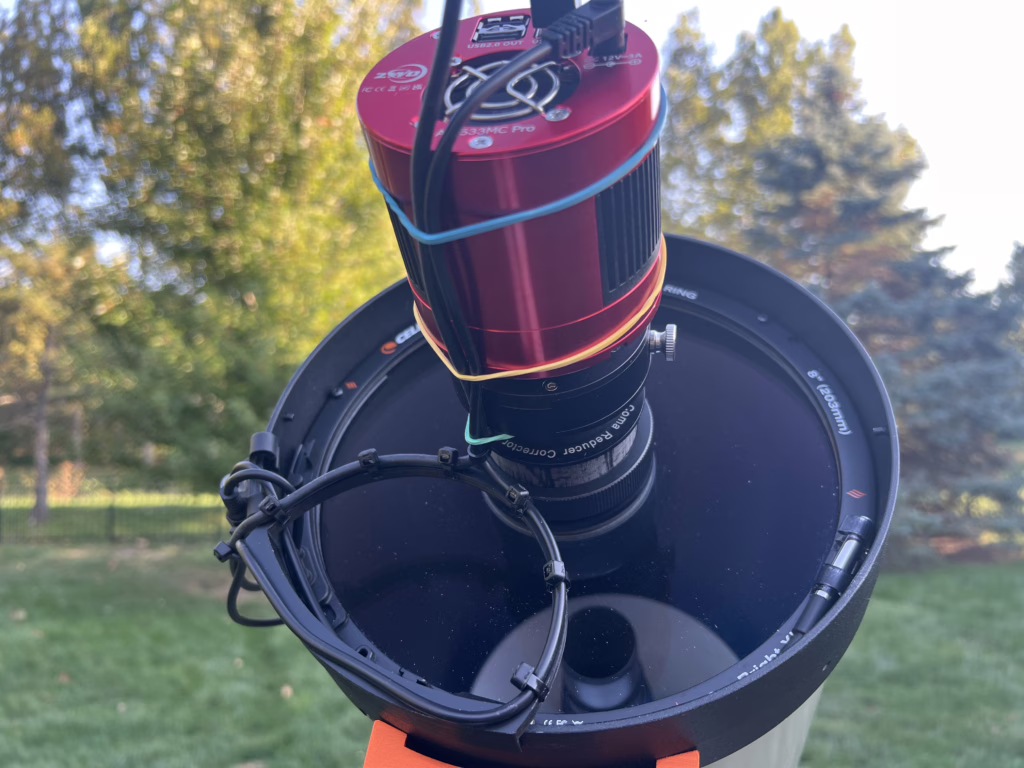
Most of us start with zip ties, Velcro wraps, or taped-down lines. But when your rig rotates, slews, and tracks all night long, those cables pull, twist, or sag. Even if they’re secured, they often cause imbalance, resistance for slewing, and even in extreme rotation or meridian flips, can get bound and cause interference with proper mount movement. In extreme cases, the cables can get ripped out of the jacks they are plugged into, ruining your session and potentially your mini-PC and power box. In the case of HyperStar, the cables can arc across the front of the optical tube, introducing light scattering and diffraction if not managed correctly..
Design Goals For HyperStar Setup
I needed something that:
- Was 3D-printable
- Anchored cleanly to the edge of the telescope tube
- Directed the cable outward in a graceful arc from the center
- Avoided the light path as much as possible
- Looked cool – C’Mon! You know you care!
- You can download the cable guide STL from Thingverse
Geometry That Works
The loop isn’t just decorative — it’s functional. This cable path has actually been around for a long time in professional observatories and robotics. The key benefit is how it redirects the cable in a smooth, consistent arc that avoids direct angle crossing the optical path.
Other common cable paths — like routing along the OTA or letting cables hang loosely — tend to shift with mount movement, introduce tension on connectors, or sag into the light cone. Overhead or vertical cable runs often force the cable to bend sharply when the mount flips or slews near the meridian.
With a proper loop like this, the cable naturally arcs outward and away from moving components. It creates a known path that won’t vary or slap against gear in the dark. It’s flexible enough to accommodate slews but rigid enough to maintain spacing. It also fits perfectly within the dew shield.
The arc geometry minimizes radius of curvature while keeping the cable under light tension. Cables can be zip-tied to the ark for secure attachment.
3D Printing & Mounting
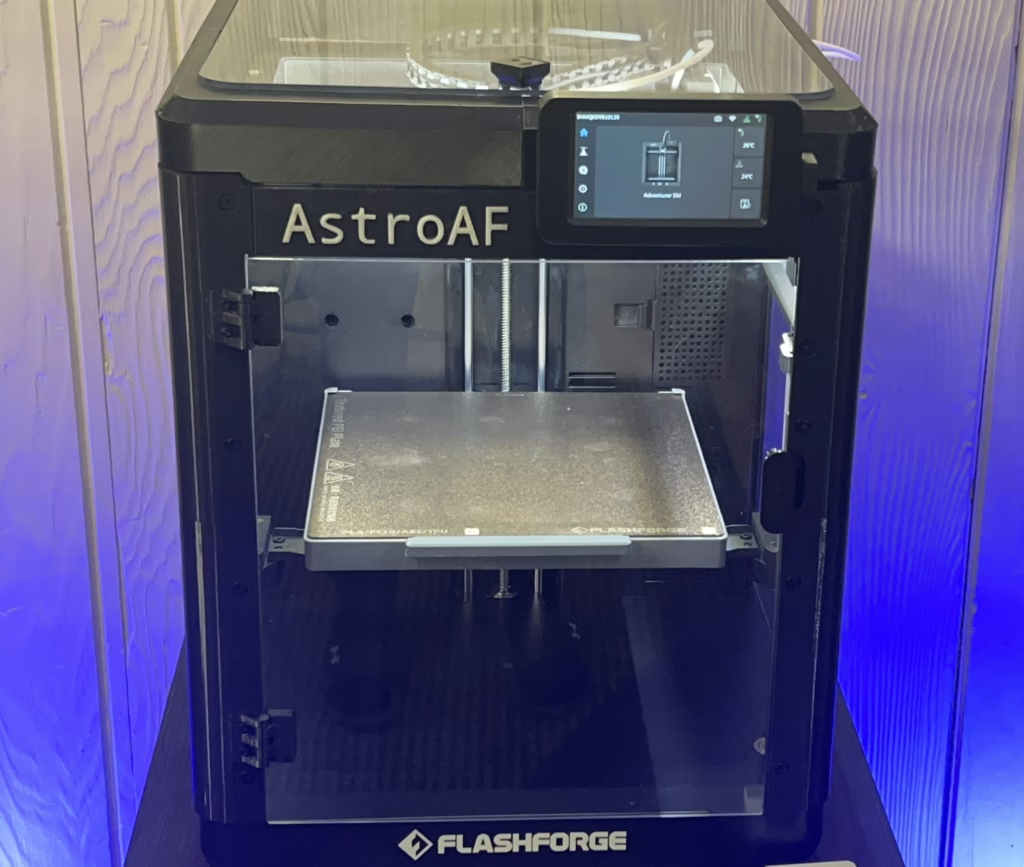
I printed the part using PLA+ on a Flashforge Adventurer 5M. It took about 1 hour. I used small zip-ties to attach the cables to the cable manager. It is very simple to setup, fits right on the OTA tube edge and allows the dew shield to pass right over the top of the organizer without interference. The cables then route directly out of the cable flange of the dew shield.
Results
Since using cable organizer for my HyperStar setup I haven’t had a single cable snag or droop into the light path. Imaging sessions are smoother, stars are cleaner, there are no visible obstructions in my subs, and the rig just feels more pro.
Routing a Complex Imaging Rig

In a more traditional imaging setup where light exits the back of the telescope (as with most SCTs or refractors), cable routing becomes a multidimensional puzzle. Here’s how I approach it:
- Mount Power and Ethernet: Routed around the mount’s base with enough slack for full RA/DEC motion, but secured so they don’t whip.
- Focuser Cable: Routed along the back of the OTA with soft Velcro straps.
- Camera and Filter Wheel: Bundled USB and power cables curve cleanly up to the OTA, secured every few inches with clips or loops.
- Guider: USB follows the same cable path as the main camera to reduce movement.
- Dew Heater & Sensors: Routed along the bottom side of the OTA which reduces clutter and keeps things clean and out of the way.
- MiniPC and PowerBox: Keep these close together so that it is easier to route your cables between. Keep your powerbox close to the image train so that the majority of your cables can be kept to as short length as possible.
- For building my harnesses I like to use cable sheathing. It is light weight, easy to insert and remove cables, helps protect the cables from chaffing and the elements, and looks really nice! I use zip ties at the ends of the sleeve because they hold securely, are easy to cut and remove as needed, and keep the sheathing securely wrapped around cables to create the harness. I also like to use velcro straps to bind harnesses together where they are routing to the same areas, additionally, I can secure other cables to the outside of harness if needed where I want to add one-off runs or need to be able to frequently change a configuration.
Here’s a shopping list of the items I like to use:
Split Cable Sleeve
Zip Ties
Velcro Straps
The core idea is always the same: create graceful arcs, avoid sharp transitions, and keep all cables moving in a known and predictable sweep as the telescope tracks and slews. Also important is the consideration of cable changes for different imaging trains. As with the EdgeHD SCT, I work in Native (2023mm), Reduced (1440mm), and HyperStar (406mm) configurations. Each of these has their own cable configuration. The way I approach this is to create separate harnesses that i can swap out quickly with image train re-configurations. The individual cables in the harnesses can be changed out when needed without too much trouble. The harness bundles help protect the cables and I have found that they have a longer service life than when running loosely.
Closing Thoughts
Astrophotography is all about precision — so why let sloppy cable runs undermine your hard work? Proper cable routing is one of my solution. Yours might look different, but the principle is the same: respect the cables. Your troubleshooting will become easier, your cables will last longer, your risk of snags and obstruction of mount movement will be reduced, and your rig will look awesome!
Cheers!
Doug
Leave a Reply